 Abotts partners with NYPL to integrate with their partner libraries.
 Upworks Inc partners with ABOTTS to build their Oracle Cloud Infrastructure (OCI).
 Abotts Inc Partners with Gnorth consulting to deploy exadata and ODA.
Log in to Google Cloud Console:
- Start by logging in to your Google Cloud Console account.
Navigate to Compute Engine:
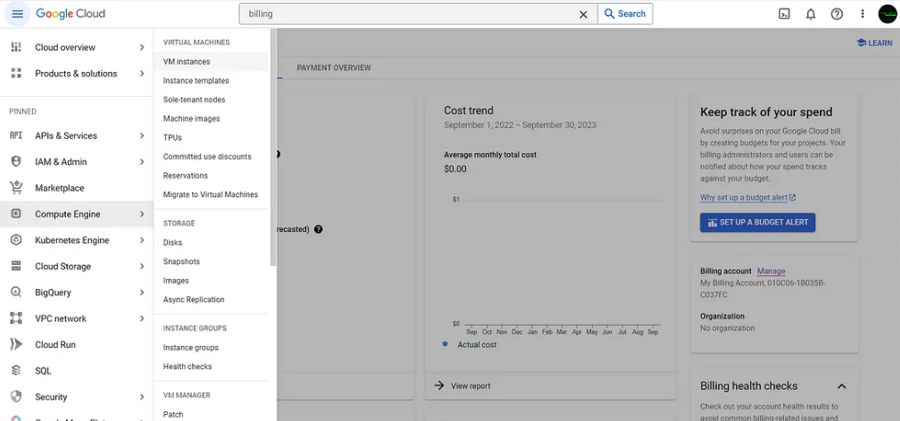
- Click on the hamburger icon in the top-left corner.
- Select “Compute Engine” from the menu.
- Choose “VM instances” from the submenu.
Create a New VM:
- Click the “Create” button to create a new VM instance.
- Give your VM a name for easy identification.
Select Region and Zone:
- Choose the region and zone that best suits your requirements.
Machine Configuration:
- Select the machine series; for example, we’ll choose “E2” with 2 vCPUs and 4GB memory.
- Scroll down to “Boot disk” and click “Change.” We’ll use Ubuntu 20.04 LTS with a 20GB balanced persistent disk. Click “Select.”
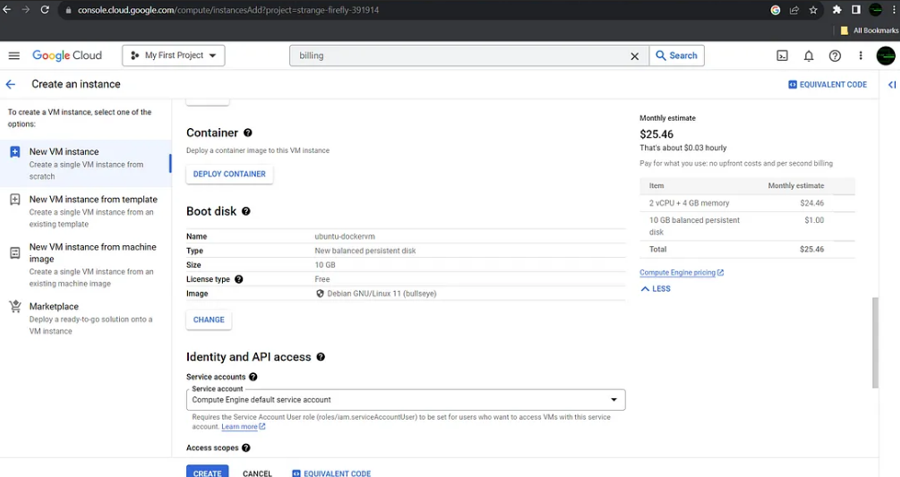
Access Scopes and Firewall Rules:
- Configure access scopes; you can allow full access to all Cloud APIs or set access for each API individually.
- Optionally, set up firewall rules to control network traffic.
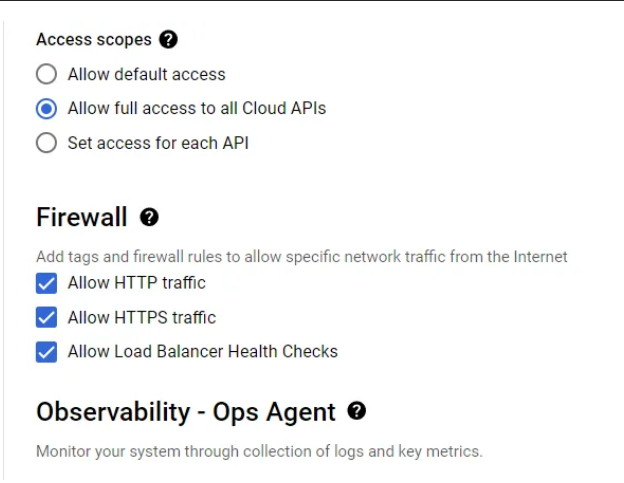
Review and Create:
- Review the monthly cost estimate of your VM on the right side.
- Click “Create” to start provisioning your VM.
Monitor VM Creation:
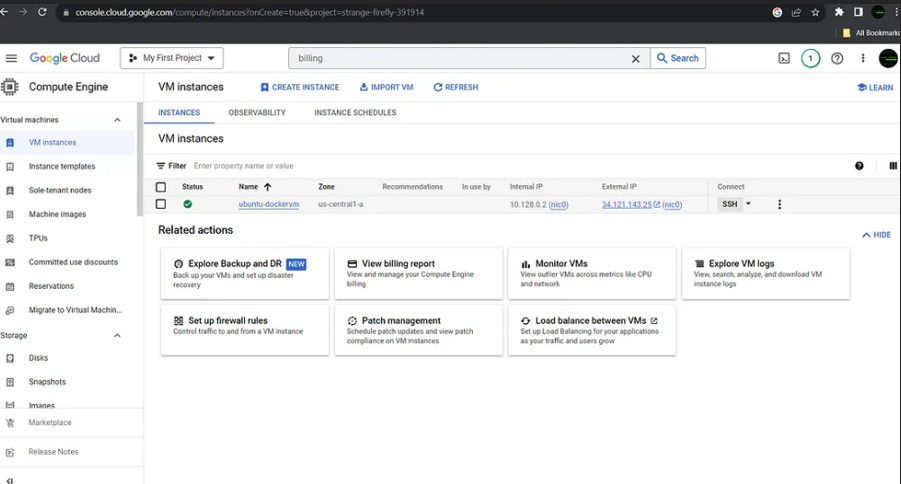
- Wait for your VM to be created. You can monitor its status in the console.
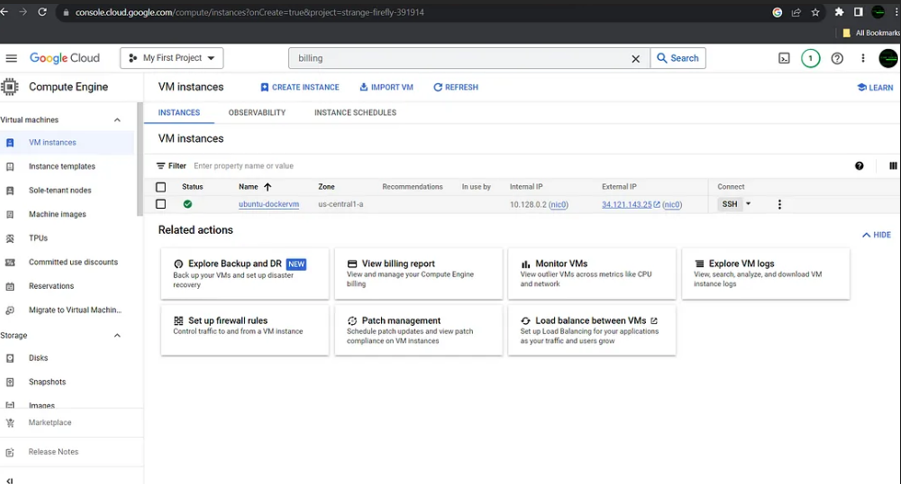
SSH Connect:
- Once your VM is up and running, click the “SSH” button to connect to it.
- Click “Authorize” to establish the connection.